Start GPS. You can either pick it from the start menu of your Windows system or type gps at a suitable command prompt.
You will see a welcome dialog as shown below. Select "Create new project with wizard."

The wizard has several dialogs you can use to configure your project. All of a project's settings can, of course, be changed later from within GPS (or by manually editing the project file).
On the left hand side of the project wizard is a list of configuration dialogs. As you progress through the wizard you will see the currently selected dialog move down the list.
In the first dialog you select the kind of project you want to create. If you don't know the best choice, use the default. In the second dialog (shown below) you provide the name and location of your project. Type in the name of the folder where you want the project to be stored. You should use the same name for that folder as for the project. It is not necessary for the folder to exist at this point.

You can accept the defaults on the next three dialogs. However, when you specify the build location, be sure the project folder is used. The build location is where the compiled object files for your project will be placed. The default location suggested by the wizard is often not suitable.

In the next dialog (below) you are asked to specify which file contains the main procedure of your program. Click the "Add" button in the upper right corner to add the file. The file does not need to exist at this point; in that case you can type its name directly into the File/Open dialog box that appears. The folder in which the file is located does need to exist, however. You can create it, if necessary, using the controls on the File/Open dialog.

You can accept the default naming convention. However, in the next dialog you will want to activate a few non-default switches on the "Ada" tab. See the screen shot below. The overflow checking and stack checking options are needed for GNAT to behave strictly according to the Ada standard. The debugging options should also be activated in case you want to debug your programs (and you probably will want this). You can also optionally select Ada 2005 mode, although that is the default behavior.

Optionally you can also activate some reasonable warnings to help the compiler find more of your mistakes. Click on the "Warnings" button in the dialog above to get a list of warnings you can select. The screen shot below shows a recommended collection.

On the "Ada Linker" tab of the same dialog, you should activate debugging information in the linker as well. This is shown below.

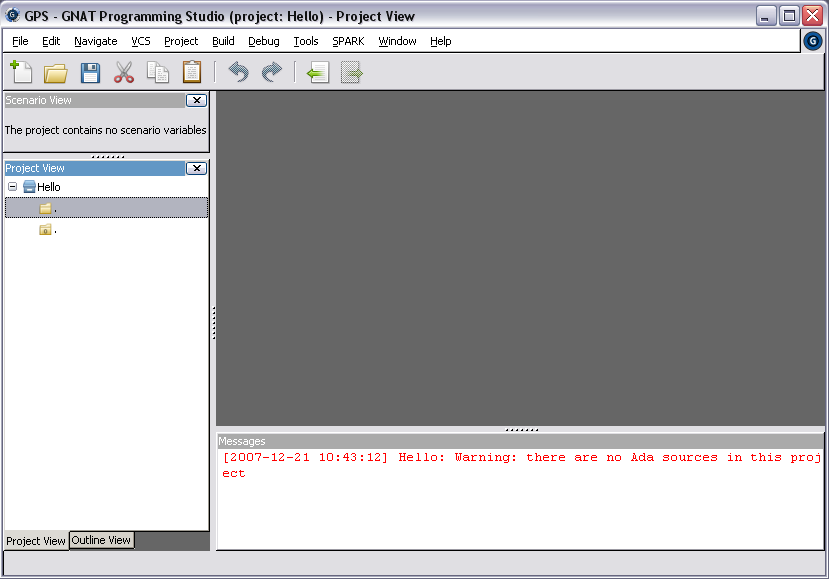
You can now complete the wizard. GPS will create a project file (with a .gpr extension) in the folder you specified and open its main window as shown below.
You are now ready to start programming in Ada! Create a new file and save it under the name hello.adb. Enter the program shown in the screen shot below. You can use the F4 function key to build your executable.
